A clean edge might be one of the highest-ROI improvements you can make to a lawn.
You can have imperfect grass, a few weeds, or even some late-summer stress, but creating sharp, intentional lines along your driveway, sidewalk, landscaping, or ball field can instantly make the entire area look more maintained.
I think of it like getting a haircut. Cleaning up the edges suddenly makes everything else look more put together.
I use the same basic process at home and at The Dirtyard, my backyard Wiffle ball field. The scale may be different, but the principles are the same.
Here’s exactly how I do it.
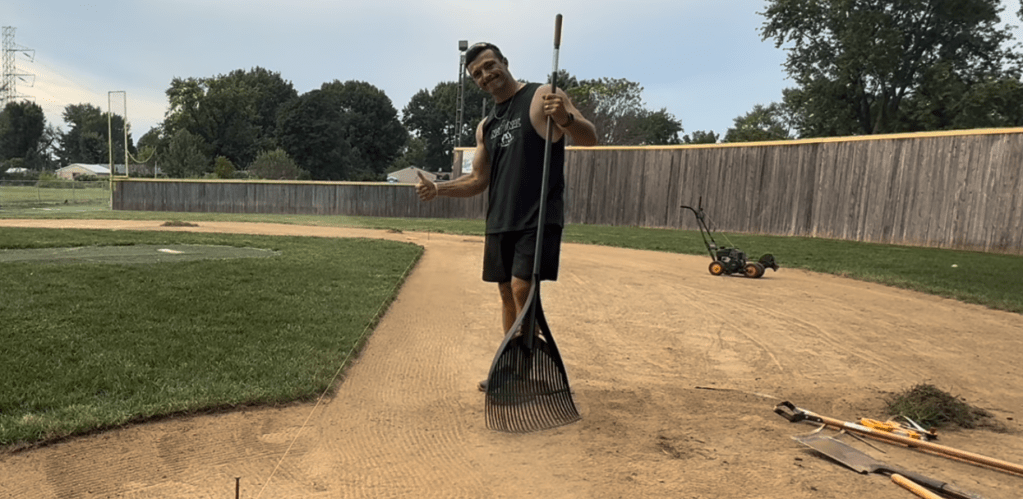
The Tools I Use for Edging
You don’t need every tool on this list. In fact, you can get excellent results with just a manual edger and a shovel.
But these are the tools I regularly use:
1. Gas-Powered Edger
Best for: Long, straight edges and regular maintenance
This is my primary edging tool and what I use about 90% of the time.
A dedicated edger uses a vertical spinning blade to cut through grass, roots, and soil along the edge. Most models also allow you to adjust the cutting depth.
For routine maintenance, I typically use roughly the third or fourth depth setting rather than burying the blade as deep as possible.
The biggest advantage is speed. If you’re maintaining long stretches of driveway, sidewalk, curb, or a ball field, a powered edger saves a tremendous amount of time.
Tool recommendation: A dedicated gas or battery-powered landscape edger with an adjustable-depth blade.
2. Half-Moon Edger
Best for: Curves, small jobs, and precise cuts
You absolutely do not need a powered edger to get professional-looking results.
A half-moon edger gives you more control because you manually position the blade and step down on it to make each cut.
I especially like it for curves, where following a line precisely can be more important than speed.
One warning: wear boots or shoes with a firm sole. Repeatedly stepping on a half-moon edger in soft-soled shoes can get uncomfortable quickly.
Tool recommendation: A steel half-moon edger with a sturdy step plate.
3. Hula Hoe
Best for: Removing surface weeds and built-up material
This is probably the tool I get asked about most often in my videos.
A hula hoe, sometimes called a stirrup hoe or oscillating hoe, has a sharpened metal loop at the end. Dragging it across the surface cuts through weeds and loosens material incredibly quickly.
It’s especially useful after edging because grass overgrowth is often accompanied by accumulated dirt and organic material.
One important distinction: you’re generally cutting weeds off rather than removing the entire root system. It’s excellent for cleanup and quick transformations, but weeds may eventually return.
Tool recommendation: A long-handled hula/stirrup hoe with a replaceable or sharpenable blade.
4. Sharp Flat Shovel
Best for: Removing cut material and shaping the finished edge
After making the vertical cut, I use a flat shovel to scrape away the grass and material I’m removing.
The key is keeping the shovel relatively flat.
If you attack the edge at too steep of an angle, you’ll remove too much material and create a deep trench or lip that you’ll eventually need to fill.
5. Stakes, Mason Line and Tape Measure
Best for: Perfectly straight edges and athletic fields
For a driveway or sidewalk, you already have a hard surface establishing your line.
On a baseball or Wiffle ball field, you don’t.
That’s where stakes and string become extremely useful.
I establish measurements, record them so I can recreate the same dimensions later, and stretch a string between my reference points. This gives me a perfectly straight guide instead of trying to eyeball the cut.
Consistency is especially important on a field because repeated edging without measurements can slowly change the dimensions of your grass and dirt areas.
How to Edge a Lawn or Ball Field Step by Step
Step 1: Establish Your Line
Before cutting anything, decide exactly where the finished edge should be.
If you’re edging against concrete, that’s easy: follow the existing sidewalk, driveway, or curb.
If you’re creating an edge without a hard border, don’t rely entirely on your eye.
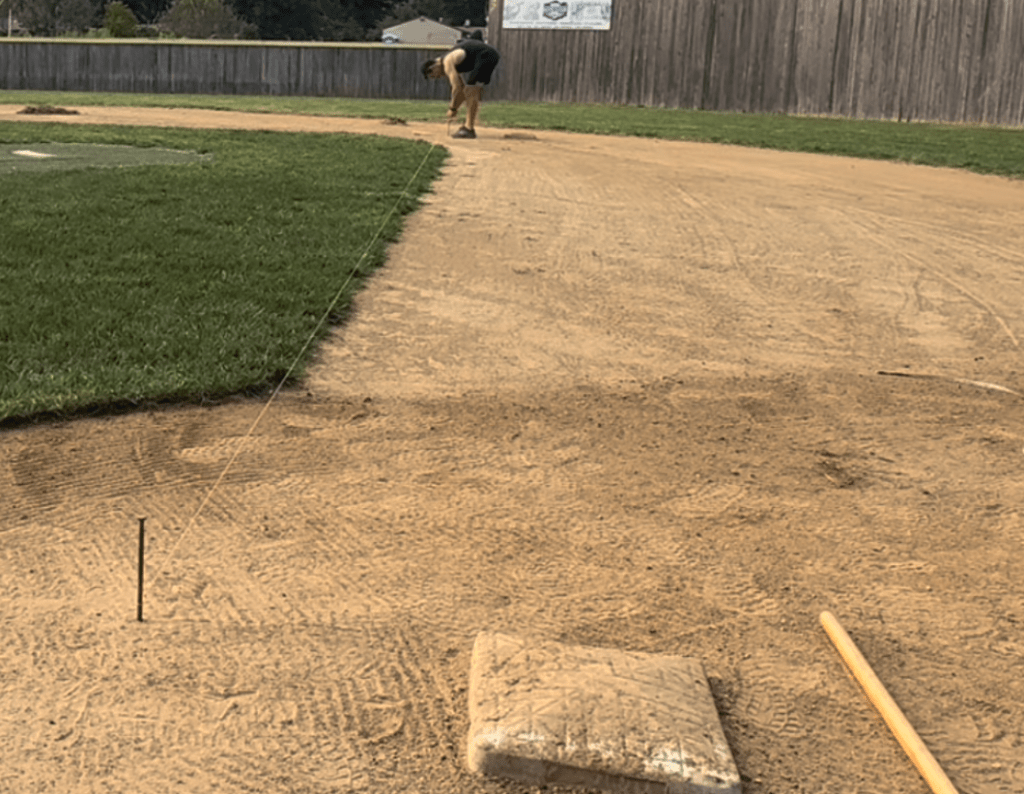
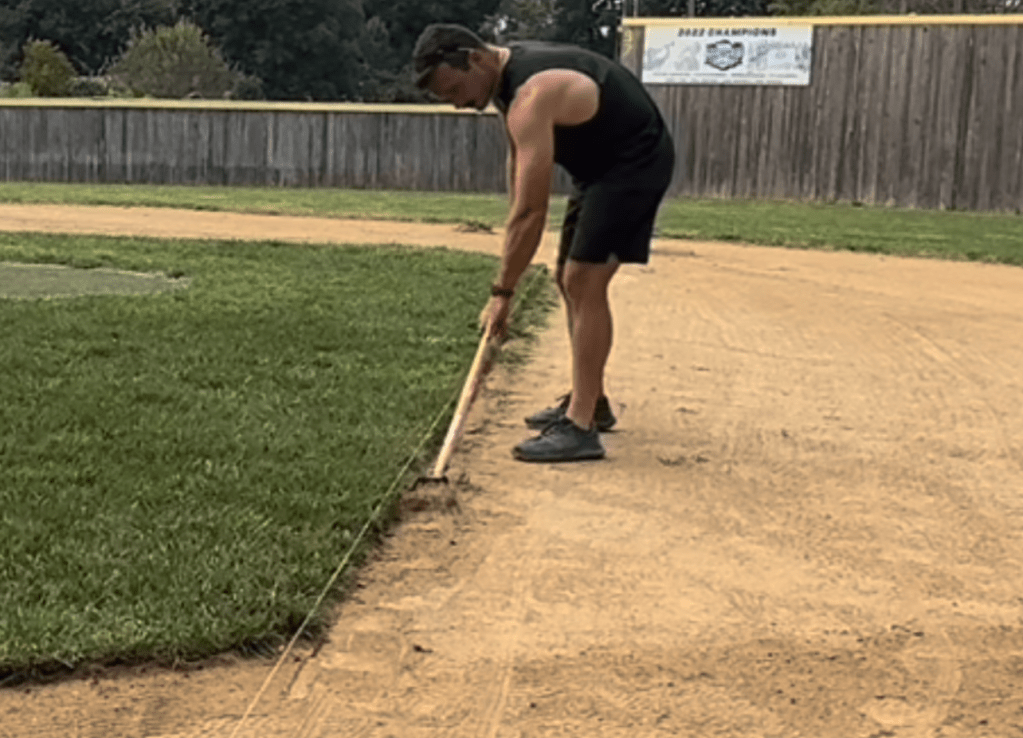
For straight edges, place stakes at both ends and stretch a mason line between them.
A small trick I’ve learned: after tightening the string, lift it vertically and let it settle back down. This helps prevent the string from being pushed sideways and giving you an inaccurate line.
For repeated projects, measure your locations and save those measurements. That’s particularly useful for ball fields.
Step 2: Mark Curves Before Cutting
Straight lines are relatively easy. Curves are where things can get messy.
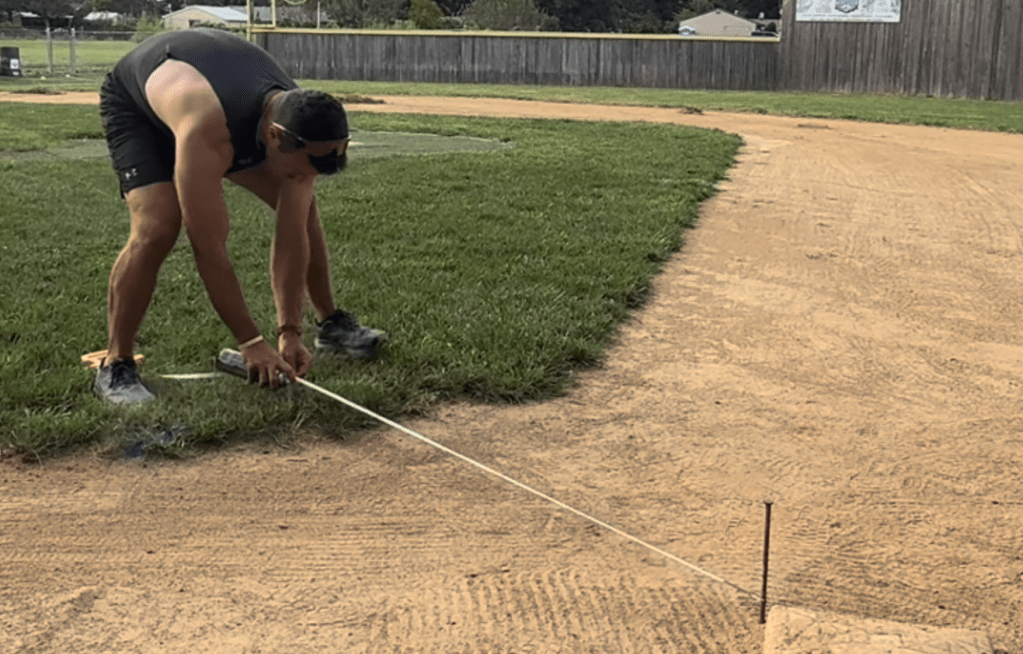
For curved edges, I like using a stake as the center point and a tape measure as a makeshift compass.
Hook the tape measure around the stake, extend it to your desired radius, and maintain that distance while marking the arc with marking paint.
Now you’re following an actual radius rather than trying to freehand a curve.
Step 3: Make the Vertical Cut
Now it’s time to actually edge.
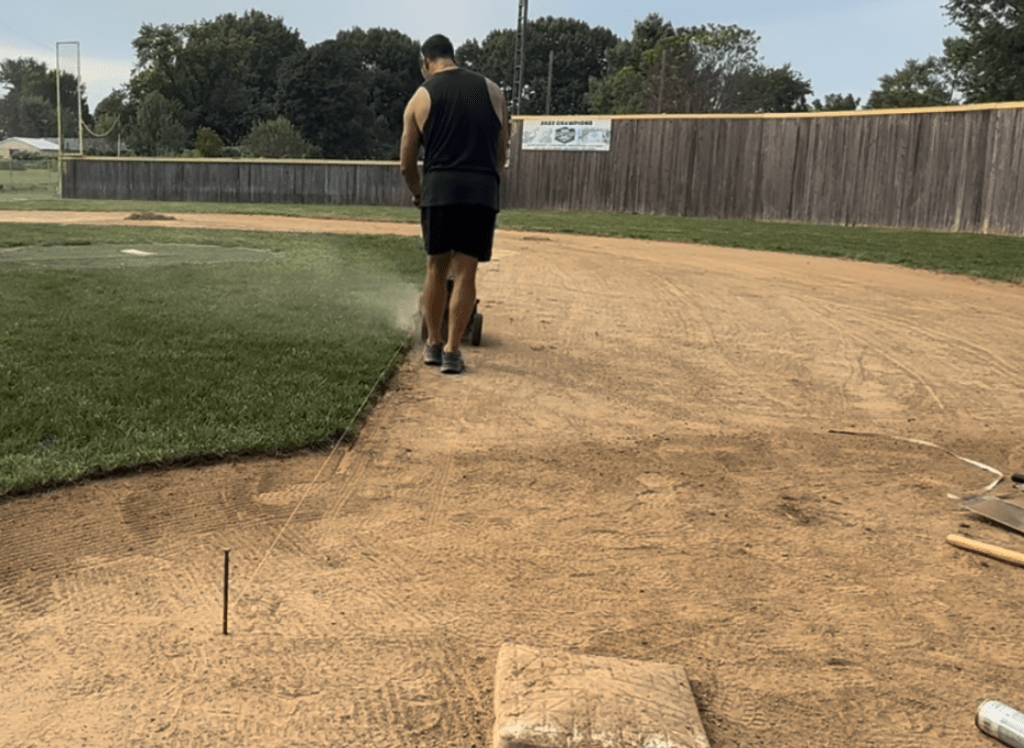
For long straight sections, I use my powered edger and follow the line.
I usually make two passes for good measure.
For curves and smaller areas, I’ll use the half-moon edger instead. Place the blade exactly where you want the edge and step down firmly.
If you’ve used marking paint, cut along the side of the line that removes the paint from the finished area. You don’t want to complete the project and leave a bright painted line behind.
Step 4: Remove the Overgrowth
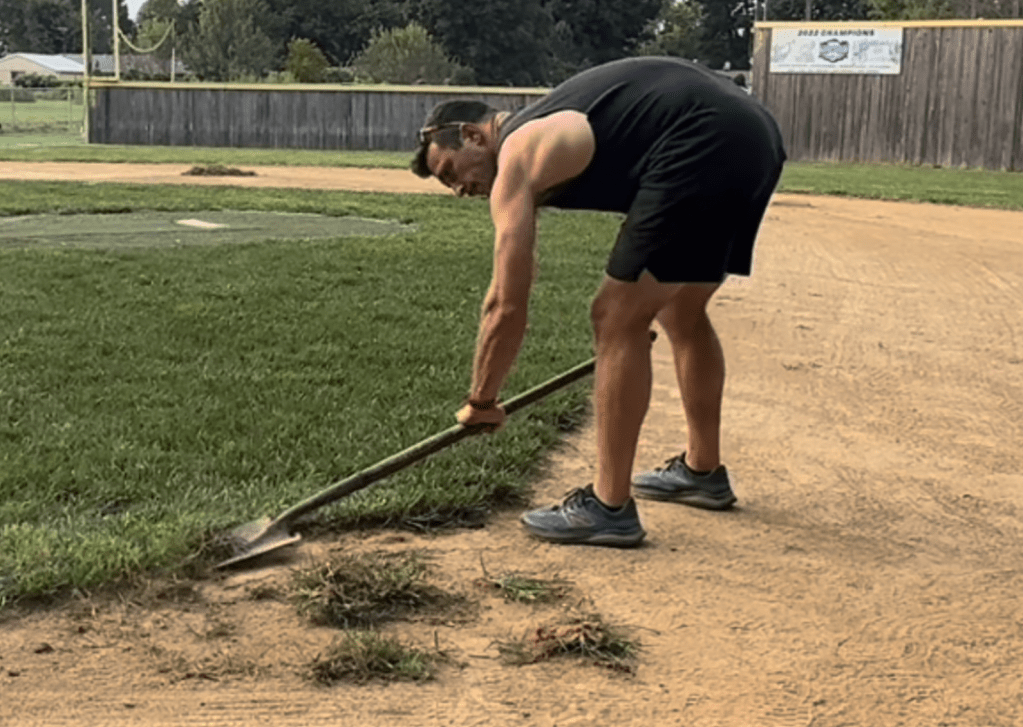
Once the vertical cut is established, the grass still needs to come out.
This is where the flat shovel becomes useful.
Work along the newly created edge and scrape underneath the material you’re removing. Try to keep the shovel fairly flat rather than digging downward.
You’re trying to separate the overgrowth, not excavate a trench.
For lighter jobs, a hula hoe can also work extremely well here.
Step 5: Remove Built-Up Dirt
This is a step that makes a surprisingly big difference.
Grass isn’t always the only thing creeping beyond your desired edge. Soil and organic material gradually build up too.
I run my hula hoe along the newly exposed area to loosen those thin layers of accumulated dirt.
You don’t need to attack it aggressively. Apply enough pressure to loosen the material without unnecessarily digging into the surface below.
Step 6: Rake and Separate the Material
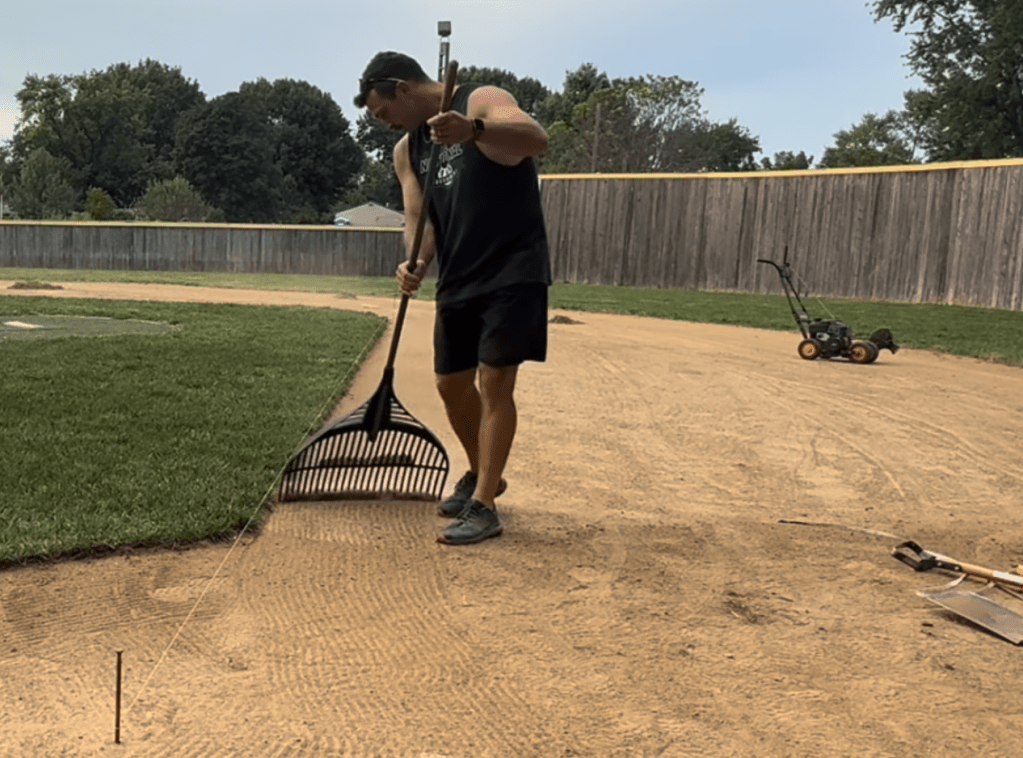
When you’re cleaning everything up, there’s usually good soil mixed in with the grass and weeds you removed.
Instead of simply dragging everything into a pile, I’ll sometimes use a lifting or tossing motion with the rake.
The heavier grass and debris move forward while more of the loose dirt falls back down.
That keeps more material where you actually want it.
I’ll also rake some loose dirt back toward the newly created edge to smooth everything out.
Step 7: Inspect the Finished Edge
Now take a look down the entire line.
You’re looking for three things:
- Is the line straight or is the curve consistent?
- Did you leave any grass hanging over the edge?
- Did you accidentally create a deep trench or lip?
Touch up those areas before calling the project finished.
One Important Warning for Baseball and Softball Fields
If you’re edging an athletic field, there’s another factor that’s much more important than appearance: lip buildup.
Run your foot across the transition between the grass and infield dirt.
If you can noticeably feel your foot rising as you cross onto the grass, you may be developing a lip.
That’s something you need to address.
A significant lip can affect drainage and potentially create unpredictable ball movement at the grass/dirt transition.
Sometimes the issue isn’t that the grass is too high, it’s that the infield material has become too low.
The long-term solution may involve adding additional infield material and properly grading the surface.
As a temporary measure, you may be able to loosen existing material and redistribute it toward the transition. But don’t confuse cosmetic edging with proper field grading. They are two different maintenance jobs.
How Often Should You Edge?
There’s no universal schedule.
Instead, I pay attention to how far the grass has grown beyond my established line.
That’s another reason I like recording measurements on athletic fields. I know where the edge is supposed to be, so I can quickly tell when it’s time to restore it.
At home, you can use the same principle.
You don’t necessarily need to recreate the edge every time you mow. Once you’ve established a good edge, maintaining it is much easier than creating it from scratch.
You Don’t Need Perfect Grass to Have a Great-Looking Lawn
I filmed this project in late August.
The grass wasn’t in its best condition. There were imperfections everywhere.
But that’s exactly why edging is so effective.
Sharp edges create intentionality. They make a lawn, landscape bed, or ball field look maintained even when everything else isn’t perfect.
If you have limited time and want to make the biggest visual improvement possible, start with the edges.
My Basic Edging Tool Kit
If you want to recreate my process, here’s the basic setup:
Powered option: Adjustable-depth gas or battery edger
Manual option: Half-moon edger
Cleanup: Hula/stirrup hoe
Material removal: Sharp flat shovel
Straight lines: Stakes + mason line
Measurements: Tape measure
Curves: Stake + tape measure + marking paint
Cleanup: Landscape rake
You certainly don’t need all of these to get started. A half-moon edger, flat shovel, and rake can accomplish most residential edging projects.
The powered tools primarily make the job faster.
Visit my Satisfying Lawn Edges storefront here.
Watch the Full Process
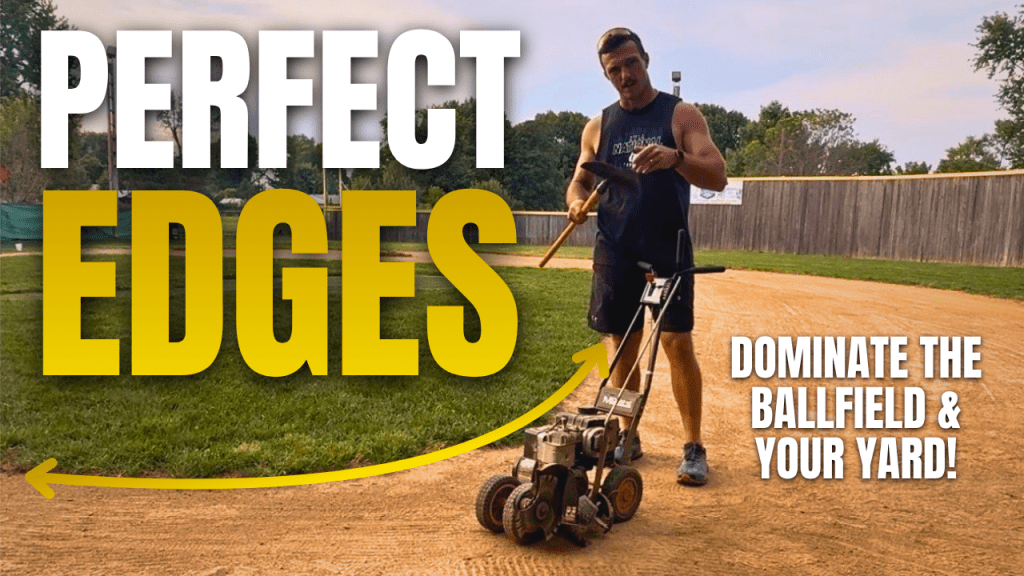
I demonstrated this entire process at The Dirtyard, including creating a measured curve around first base, establishing a straight baseline, using the powered and manual edgers, removing buildup, and cleaning up the finished transition.
Video: The Secret to a Perfectly Edged Lawn
If you’re interested in more lawn projects, DIY transformations, Wiffle ball field maintenance, or behind-the-scenes work at The Dirtyard, follow along. There’s always another project to tackle.
Brendan